
Introduction
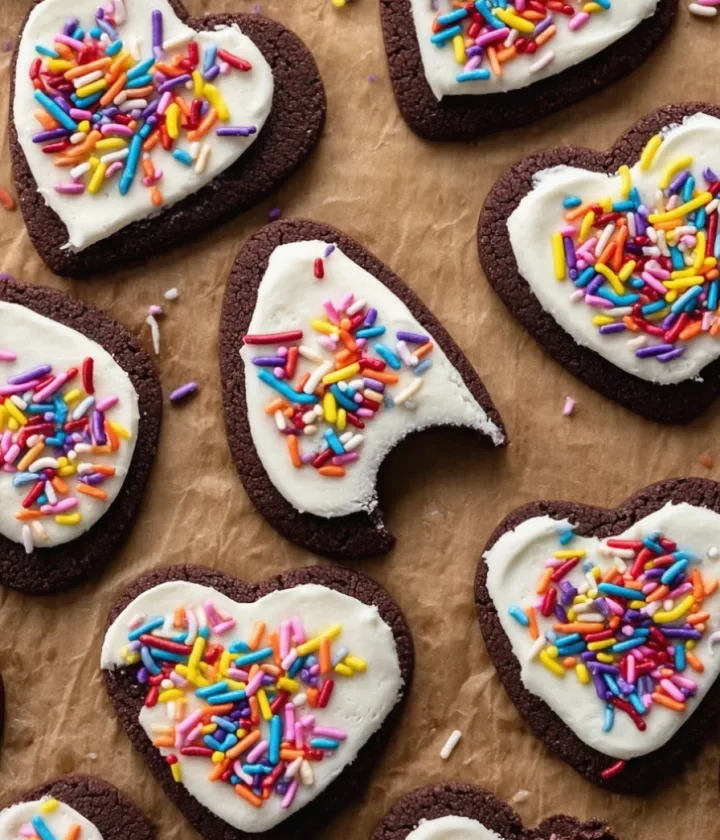
Embark on a delightful baking adventure with our Cut-Out Chocolate Sugar Cookies. Perfect for satisfying your sweet tooth, these cookies combine the rich flavors of cocoa with the classic sugar cookie texture. A beloved treat during holiday seasons, these cookies are ideal for festive gatherings or as an everyday indulgence. Whether you’re using cookie cutters for baking with your family or preparing a batch for a party, this recipe is both versatile and fun. Rooted in European traditions where cut-out cookies are a staple during celebrations, this chocolate variation adds a delicious twist to the best sugar cookie recipe you know and love. Let the aroma of freshly baked chocolate sugar cookies fill your home and capture hearts.
These cookies are not only delicious but also offer a creative outlet for decorating enthusiasts. The process of cutting out different shapes and decorating them with colorful icing or sprinkles can be a joyful activity that engages both children and adults. With their soft, chewy texture combined with a deep chocolate flavor, they’re guaranteed to impress anyone who takes a bite. The act of baking together can forge cherished memories, making these cookies a perfect family bonding experience. Adding a personal touch to your creations can be incredibly satisfying, turning each cookie into a work of edible art that showcases your creativity. You can learn more about this topic.
Ingredients
- Dry Ingredients:
- 2 1/2 cups all-purpose flour
- 3/4 cup unsweetened cocoa powder
- 1 tsp baking powder
- 1/2 tsp salt
- 1 cup unsalted butter, softened to room temperature
- 1 3/4 cups granulated sugar
- 2 large eggs
- 2 tsp vanilla extract
- Chocolate frosting ideas like ganache or simple icing
- Sprinkles for a festive touch
When selecting ingredients, opt for high-quality cocoa powder to enhance the rich chocolate flavor. If desired, you can use vanilla paste instead of extract for a more intense vanilla aroma. For those who prefer less sweetness, consider using a darker cocoa powder or reducing the sugar slightly. Ensure that the eggs are at room temperature to allow for smoother mixing with the butter and sugar mixture. These small adjustments can make a significant difference in the final taste and texture of your cookies. Additionally, the use of unsalted butter is crucial as it allows you to control the salt content in the recipe, ensuring a perfect balance of flavors. Check out our related guide for more tips.
Steps / Instructions
- Preheat your oven to 350°F (175°C). Line baking sheets with parchment paper. This prevents the cookies from sticking and ensures an even bake. Properly preheating the oven is essential for cookies to rise and bake evenly.
- Mix dry ingredients: In a medium bowl, whisk together the flour, cocoa powder, baking powder, and salt. Ensure the cocoa is well-integrated to avoid lumps, as cocoa lumps can negatively affect the texture and appearance of the cookies. Whisking also helps aerate the flour, leading to a lighter cookie.
- Cream the butter and sugar: In a large bowl, beat the softened butter and granulated sugar together with a mixer on medium speed until light and fluffy, about 3 minutes. The mixture should be pale in color and increased in volume, indicating that the sugar is well-dissolved. This step is crucial as it incorporates air into the dough, contributing to the cookie’s soft and chewy texture.
- Add eggs and vanilla: Beat in the eggs one at a time, then stir in the vanilla extract until fully incorporated. Make sure each egg is well blended before adding the next. This step helps in creating a smooth and homogeneous mixture. Proper incorporation of eggs ensures the dough binds well and bakes evenly.
- Combine dry and wet ingredients: Gradually add the dry mixture to the wet mixture, mixing thoroughly until a dough forms. The dough will be soft but not sticky. If the dough feels too soft, add a tablespoon of flour at a time until the desired consistency is achieved. This ensures that the cookies hold their shape when cut and do not spread too much during baking.
- Chill the dough: Wrap the dough in plastic wrap and refrigerate for at least 1 hour. Chilling helps to solidify the butter, making it easier to cut and shape. Additionally, it enhances the cookie’s flavor by allowing the ingredients to meld together. Patience during this step can make a huge difference in the ease of handling and final presentation.
- Roll out the dough: On a lightly floured surface, roll out the dough to about 1/4 inch thickness. Use cookie cutters to cut out desired shapes and place them on prepared baking sheets. Dust the cookie cutters with flour to prevent sticking to the dough. This step is perfect for involving kids, who will enjoy choosing their favorite shapes. Encourage creativity by trying various fun shapes that reflect the occasion.
- Bake the cookies: Bake in preheated oven for 8-10 minutes, or until edges are set. Do not overbake to ensure they remain soft and chewy. For extra precision, rotate the baking sheets halfway through for even baking. Keep a close eye on the first batch to gauge the exact baking time for your oven. Remember, cookies continue to cook as they cool on the baking sheet, so it’s better to remove them when they appear slightly underdone.
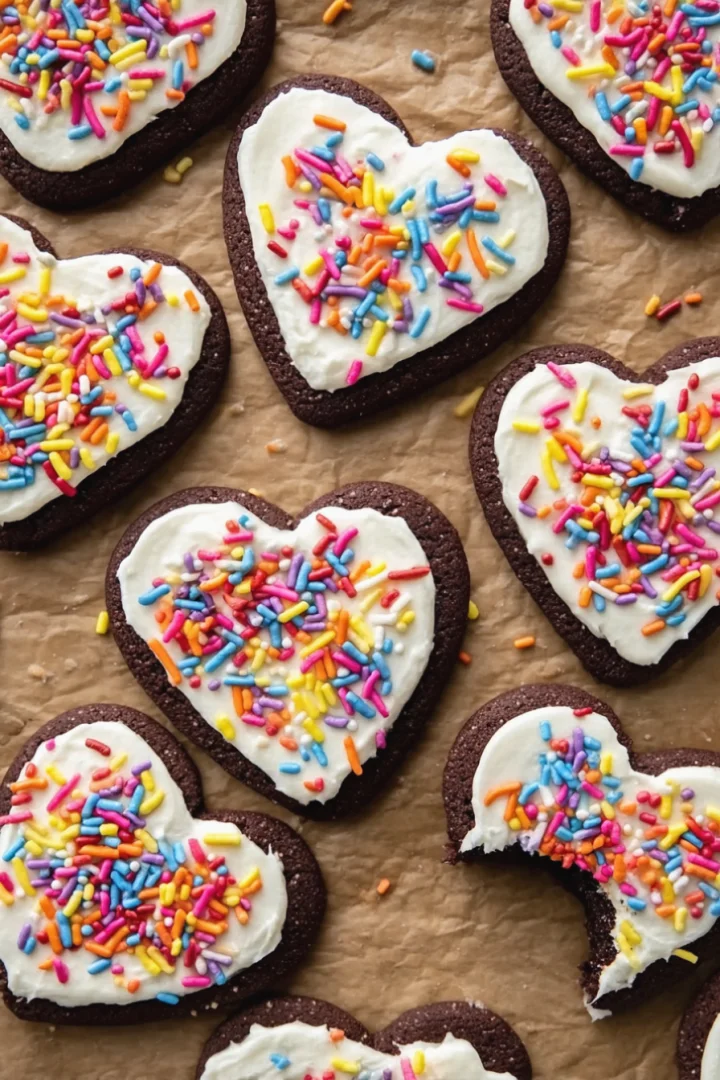
- Cool and decorate: Allow cookies to cool on the baking sheet for about 5 minutes before transferring to a wire rack to cool completely. Decorate as desired with frosting and sprinkles. For a fun activity, set up a decorating station with various toppings and invite friends or family to join in the fun. This is where creativity shines, and the possibilities are endless—from simple icing to intricate designs. Consider using a variety of decorating tools to create unique patterns and textures on your cookies.
Tips & Tricks
- Storage Tips: Store baked cookies in an airtight container at room temperature for up to a week, or freeze for longer storage. Consider placing parchment paper between layers if stacking them to prevent sticking. For optimal freshness, store them in a cool, dry place. Proper storage is key to maintaining the cookies’ flavor and texture over time.
- Make-Ahead Options: Prepare the dough in advance and freeze it for up to 3 months. Thaw in the refrigerator overnight before using. This makes it easy to bake fresh cookies whenever the craving strikes. Having dough on hand can be a lifesaver during busy holiday seasons. Pre-made dough also allows for spontaneous baking sessions, perfect for unexpected guests.
- Common Mistakes to Avoid: Avoid overmixing the dough, which can lead to tough cookies. Ensure butter is properly softened to prevent a dense dough. Overbaking is another common pitfall; it’s better to err on the side of underbaking as cookies will continue to firm up as they cool. Pay attention to the size of your cut-outs; larger cookies will require more baking time. Understanding these nuances can dramatically improve your baking results.
- Pro Techniques: Use a silicone baking mat to prevent sticking and promote even baking. For a glossy finish, brush cookies with a beaten egg white before baking. Additionally, for a more refined look, consider using a piping bag to apply frosting, which allows for more precise and decorative designs. Experiment with different piping tips for varied textures and patterns. These professional touches can elevate your cookies from homemade to bakery-quality.
Variations and Substitutions
Some versions are no-chill, which makes them quicker when you need a fast cookie recipe. Others use chill time to improve rollability and cut-out precision.
You can decorate them with royal icing for a more detailed finish or buttercream for a softer, richer topping. If you want a less sweet finish, plain cookies with a dusting of powdered sugar also work well.
Serving Suggestions
Serve these cookies for holidays, birthdays, anniversaries, cookie exchanges, or any occasion where decorated cookies fit the mood. They hold up well on dessert platters and travel nicely once decorated.
They pair well with milk, coffee, or hot chocolate. If you’re making them for gifting, let the icing fully set before stacking or packaging them.
FAQs
Do these cookies spread?
Many recipes are designed not to spread much, especially when the dough is chilled or formulated as a no-spread dough.
Can I make them ahead of time?
Yes, the dough can often be made ahead, and some recipes even recommend chilling it before rolling and baking.
What’s the best icing for them?
Royal icing is best for detailed decorating, while buttercream or glaze works for a softer finish.
Final Thoughts
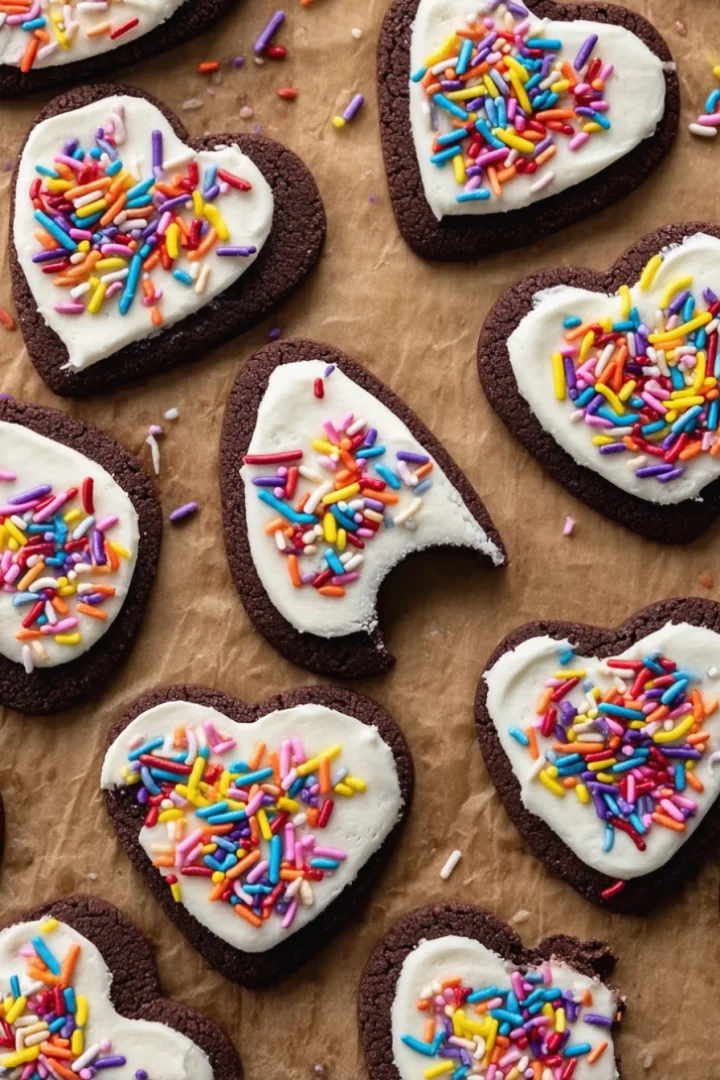
Cut-Out Chocolate Sugar Cookies are a great choice when you want a cookie that tastes rich, looks beautiful, and stays sturdy enough for decorating. They’re dependable, versatile, and especially fun for festive baking.
Pro Tips
- Measure flour accurately.
- Cool cookies completely before icing.
- Roll dough evenly for clean shapes.
- Use chilled dough if you want sharper edges.
Common Mistakes
- Adding too much flour.
- Decorating warm cookies.
- Rolling the dough unevenly.
- Overbaking and drying them out.
Call to Action
Try these Cut-Out Chocolate Sugar Cookies when you want a festive chocolate cookie that looks as good as it tastes. They’re perfect for decorating and sharing.
Cut-Out Chocolate Sugar Cookies
These delectable treats bring together the rich essence of cocoa with the classic allure of sugar cookies, creating a dessert that is both comforting and indulgent.
Ingredients
- 2 1/2 cups all-purpose flour
- 3/4 cup unsweetened cocoa powder
- 1 teaspoon baking powder
- 1/2 teaspoon salt
- 1 cup unsalted butter, softened
- 1 1/2 cups granulated sugar
- 2 large eggs
- 2 teaspoons vanilla extract
- Assorted sprinkles
- Colored sugar
- Royal icing
Directions
Prepare the Dough: In a medium bowl, whisk together all-purpose flour, cocoa powder, baking powder, and salt. Set aside.
In a large mixing bowl, cream together the softened unsalted butter and granulated sugar until light and fluffy, about 3 minutes.
Add the eggs, one at a time, beating well after each addition. Stir in the vanilla extract.
Gradually add the dry ingredients to the creamed mixture, mixing until just combined.
Chill the Dough: Divide the dough into two portions, flatten into disks, and wrap in plastic wrap. Chill for at least 1 hour or until firm.
Preheat the Oven: Preheat your oven to 350°F (175°C) and line baking sheets with parchment paper.
Roll Out the Dough: On a lightly floured surface, roll out the dough to about 1/4 inch thickness. Use cookie cutters to cut out shapes.
Bake the Cookies: Place the cut-out cookies onto the prepared baking sheets, leaving some space between each one. Bake for 8-10 minutes or until the edges are set.
Let the cookies cool on the baking sheets for a few minutes before transferring them to wire racks to cool completely.
Recipe Reviews
- ★★★★★
Excellent recipe!
Leave a Reply
Your email address will not be published. Required fields are marked *

Excellent recipe!